Showing posts with label #mmoisan. Show all posts

Friday, March 12, 2021

DRU - Bonjour

Hello crafty friends,

I'm back with my last post for March and for this term. I've had so much fun being on the Dies R Us Design Team for the last two terms and look forward to hopefully making it back on the team someday in the future.

For today's card I used the following dies:  Pinkfresh Studios Slim Fancy Diagonal StripesTutti Designs Frilly Flower Frame and the Creative Expressions Bonjour, which is sadly not currently available.


I started the card be die cutting a piece of pattern pater with the Pinkfresh Studios Slim Fancy Diagonal Stripes and adhering it down to the front of a slim card.  

Next I started working on the flower element by die cutting four Tutti Designs Frilly Flower Frames... 1 from white to use a my base.  2 from purple pattern paper and 1 from green pattern paper.  I used double sided tape on all these die cuts to make adhering them easier.   The flower has a lot of tiny openings and it took me more time than expected to get all the clean and ready (I ended skipping this section in the video, because it took so long).  But please note that it wasn't a die cutting issue.  The die worked wonderfully, the double sided backed tiny pieces just kept sticking to everything.  But I was finally able to paper piece the purple flowers and leaves onto their corresponding places on the white base die cut.  The final element was the added of the "Bonjour" sentiment.


For a short card video click here.

Thanks for stopping by.  To visit my personal blog just click on my name Mary Moisan

Until next time... Take care. 


Don't forget to come join in the fun at the Dies R Us Challenge Blog.  There's a new challenge theme offered on the 1st and 15th of each month and one lucky randomly drawn winner will receive a gift voucher prize to the Dies R Us Store.  For your convenience, all the important Dies R Us links are provided below.


click below for:

Friday, March 5, 2021

DRU - It Almost Feels Like Spring

 Hello crafty friends,

Mary back with my first March post.  After a very snowy and cold February, I'm so glad for the feel of Spring we have been enjoying the last several days.  I think my card below gives off a flesh Spring feel with the help of the following Poppy dies:  Adriana Square Frame and Whittle Birds.

This card looks so intricate, but it so easy to make.  I created a slim card measuring 8" x 3.80" and covered the card front using two die cut Adriana Square Frames, which I first covered with double sided tape before die cutting them.  The Adriana Square Frame measures 4" x 4" so only a tiny bit of overhang required trimming off on the sides.  Next, I die cut the Whittle Birds from pattern paper.  Some of the Whittle Birds I placed down with foam tape for dimension and some flat.  I kept the windows blank of sentiments until I decide what to use the card for, but I kind of envision the word "just" die cut in the top window and "because" in the bottom window.   

Thanks for stopping by.  To visit my personal blog just clink on my name Mary Moisan

Until next time... Take care. 


Don't forget to come join in the fun at the Dies R Us Challenge Blog.  There's a new challenge theme offered on the 1st and 15th of each month and one lucky randomly drawn winner will receive a gift voucher prize to the Dies R Us Store.  For your convenience, all the important Dies R Us links are provided below.


click below for:

Friday, February 12, 2021

DRU - Happy Heart Day

 Hello crafty friends,

Mary back with another Valentine's Day card, but even if you don't celebrate Valentine's Day, you will find tons of use for this big Happy Heart Collage die by Memory Box.  I made it the focus of my A2 card front.  

Note:  the rays didn't completely fit the heart shape, but I made do with what I had on hand.  Looking though the store, I think the Shifter Rays stencil by Tim Holtz I would have worked, because the center of the stencil is smaller than the heart, so as long as I centered the stencil in the middle of the heart on my card front, the rays would align perfectly.  The stencil I used was 12x12 and the center was bigger than the heart, which is why the rays didn't align. 

Not counting the issue of the stenciled rays, this was a super easy card to make.  Die cutting the heart from the front of the card was a no-brainer.  On the inside I used a gnome w/a heart from my stash making sure to align him, so that his heart could be seem through the Happy Heart Collage's opening. 

In order to avoid bleeding through my inside card panel, I stamped my gnome on a separate piece of paper (mixed media) and fussy cut him out.  Lawn Fawn has a ton of cute critters stamp/dies that would be perfect for the inside of this card.

Thanks for stopping by.  To visit my personal blog just clink on my name Mary Moisan

Until next time... Take care. 


Don't forget to come join in the fun at the Dies R Us Challenge Blog.  There's a new challenge theme offered on the 1st and 15th of each month and one lucky randomly drawn winner will receive a gift voucher prize to the Dies R Us Store.  For your convenience, all the important Dies R Us links are provided below.


click below for:

Friday, February 5, 2021

DRU - Valentine's Day Cards

 Hello crafty friends,

I'm back with two fun and easy Valentine's Day cards that use the same two die sets, but one is gear towards a guy and the other towards a gal. 


Lets start with the guy card first...  If you study the card you will realize that the only thing that makes it a "guy" card are the mustaches in the background.  I created the panel with the mustaches with an embossing folder, which I first inked lite tan.  The other dies used are Poppystamps' Stitched Envelope and Cheery Lynn's Sweetheart Candy, which are currently not available in the store, but Lawn Fawn has these Candy Hearts which will work just as well.

Note:  I would have preferred to go portrait instead of landscape on this card, but didn't want to mess with a seam the embossing folder would create.  I feel like the card is missing something under the envelope... if I had this in my stash I would have used it IO Burlap die.

The second card... started with a pink pattern paper and an XOXO embossing folder as my card's background.  I used two Stitched Envelope by Poppystamps inking them with the same pink I used on the Cheery Lynn's Sweetheart Candies. 


Thanks for stopping by.  To visit my personal blog just clink on my name Mary Moisan
Until next time... Take care. 


Don't forget to come join in the fun at the Dies R Us Challenge Blog.  There's a new challenge theme offered on the 1st and 15th of each month and one lucky randomly drawn winner will receive a gift voucher prize to the Dies R Us Store.  For your convenience, all the important Dies R Us links are provided below.


click below for:

Friday, January 15, 2021

DRU - More HAPPY New Year Cards

 Hello crafty friends,

Since we're still in January and I feel it's totally exactable to wish people "HAPPY NEW YEAR" throughout the month of January, I'm back with two more "HAPPY NEW YEAR" cards today. 


For the above card I used Grand Hour Glass die by Poppystamps and the Roman Clock by Frantic Stamper.  The Roman Clock is not currently available, but the IO Clock Face die is.  

I started by die cutting the clock and using it as a stencil over my card front.  Next, I die cut the body of the hour glass to create my shaker window.  I backed the window with acetate and added tiny gun metal and black star sequins.  I also added a hand written "HAPPY NEW YEAR" message inside the hour glass shaker.  Once my shaker card front was attached to my card, I glue sections of the inked clock to the card, overlapping the hour glass in some places.


I stayed with hour glass theme, this time using the Small Hour Glass by Poppystamps and the Happy Happy Happy by Frantic Stamper. 

I created five small hour glass shakers and top the card with the Happy Happy Happy sentiment.  


On the inside of both cards I used the Happy New Year die from Merry Christmas set by Impression Obsession.  I also created a stencil from the Grand Hour Glass to ink both cards.


Here's a side by side of the Grand Hour Glass and the Small Hour Glass dies.
 

Thanks for stopping by.  If you like to visit my personal blog just clink on my name Mary Moisan. Until next time... Take care. 


Don't forget to come join in the fun at the Dies R Us Challenge Blog.  There's a new challenge theme offered on the 1st and 15th of each month and one lucky randomly drawn winner will receive a gift voucher prize to the Dies R Us Store.  For your convenience, all the important Dies R Us links are provided below.


click below for:

Friday, January 8, 2021

DRU - Happy 2021

 Hello crafty friends,

I hope everyone had a nice end to 2020.  


For my first Design Team card for 2021 I wanted to make a Happy New Year card, but my go to Happy New Year die by Impression Obsession wasn't going to give my the look I wanted, which was a block style stand alone "happy" that I could cover the front of the card with.  

I ended up using the "happy" from the Happy Mother's Day die by Impression Obsession, it wasn't exactly want I wanted, but close enough.  I colored several pieces of scrap mixed media paper and die cut it my happies. I die cut a circle opening to show my stamped inside card image (Newton Celebrates)  

Until next time... Take care. 


Don't forget to come join in the fun at the Dies R Us Challenge Blog.  There's a new challenge theme offered on the 1st and 15th of each month and one lucky randomly drawn winner will receive a gift voucher prize to the Dies R Us Store.  For your convenience, all the important Dies R Us links are provided below.


click below for:

Friday, December 18, 2020

DRU - Christmas Sweater

 Hello crafty friends,

I've been on a hunt for Christmas sweaters/sweatshirts for the family the last few days, so I decide to make a card with a few paper sweaters.  Thinking these would make really cute package tags also.


I used this fun die set from Elizabeth Craft Designs called Winter Sweater and some small print pattern paper to die cut three sweaters for my slim card.  I die cut the hanger, sweater trims and reindeer all from white card stock and colored them with Distress ink.  I also inked the card background with Distress ink and spayed it with glimmer mist.

Update:  The Winter Sweater by ECD is not currently available, but Frantic Stamper has this Cozy Sweater and they have another die set with Sweater Icons.


On the inside of the card, I used "Season's Greetings" word dies from the Christmas Stitched Words by Impression Obsession.     

Thanks for stopping by.  If you like to visit my personal blog just clink on my name Mary MoisanHappy Holidays crafty friends!


Don't forget to come join in the fun at the Dies R Us Challenge Blog.  There's a new challenge theme offered on the 1st and 15th of each month and one lucky randomly drawn winner will receive a gift voucher prize to the Dies R Us Store.  For your convenience, all the important Dies R Us links are provided below.


click below for:

Friday, December 11, 2020

DRU - Crystal Fir

 Hello crafty friends,

Mary back with this fast and fun card...


The Ice Crystal Fir tree by Tutti Designs is delicate, but is substantial enough to be the focal point on a standard A2 card.   On my card, I die cut it from white card stock and glued it over green plaid pattern paper.  I placed the tree to the right, so that I could fit the MERRY word die from the Christmas Stitched Words by Impression Obsession.   


Don't forget to come join in the fun at the Dies R Us Challenge Blog.  There's a new challenge theme offered on the 1st and 15th of each month and one lucky randomly drawn winner will receive a gift voucher prize to the Dies R Us Store.  For your convenience, all the important Dies R Us links are provided below.


click below for:

Friday, November 20, 2020

DRU - Pine Forest

  Hello crafty friends,  

Mary back with three cards showcasing the Aspen & Pine Forest die by Impression Obsession and a couple of other dies.   

Starting with this first card, on which I used the die to create a shaker element.  


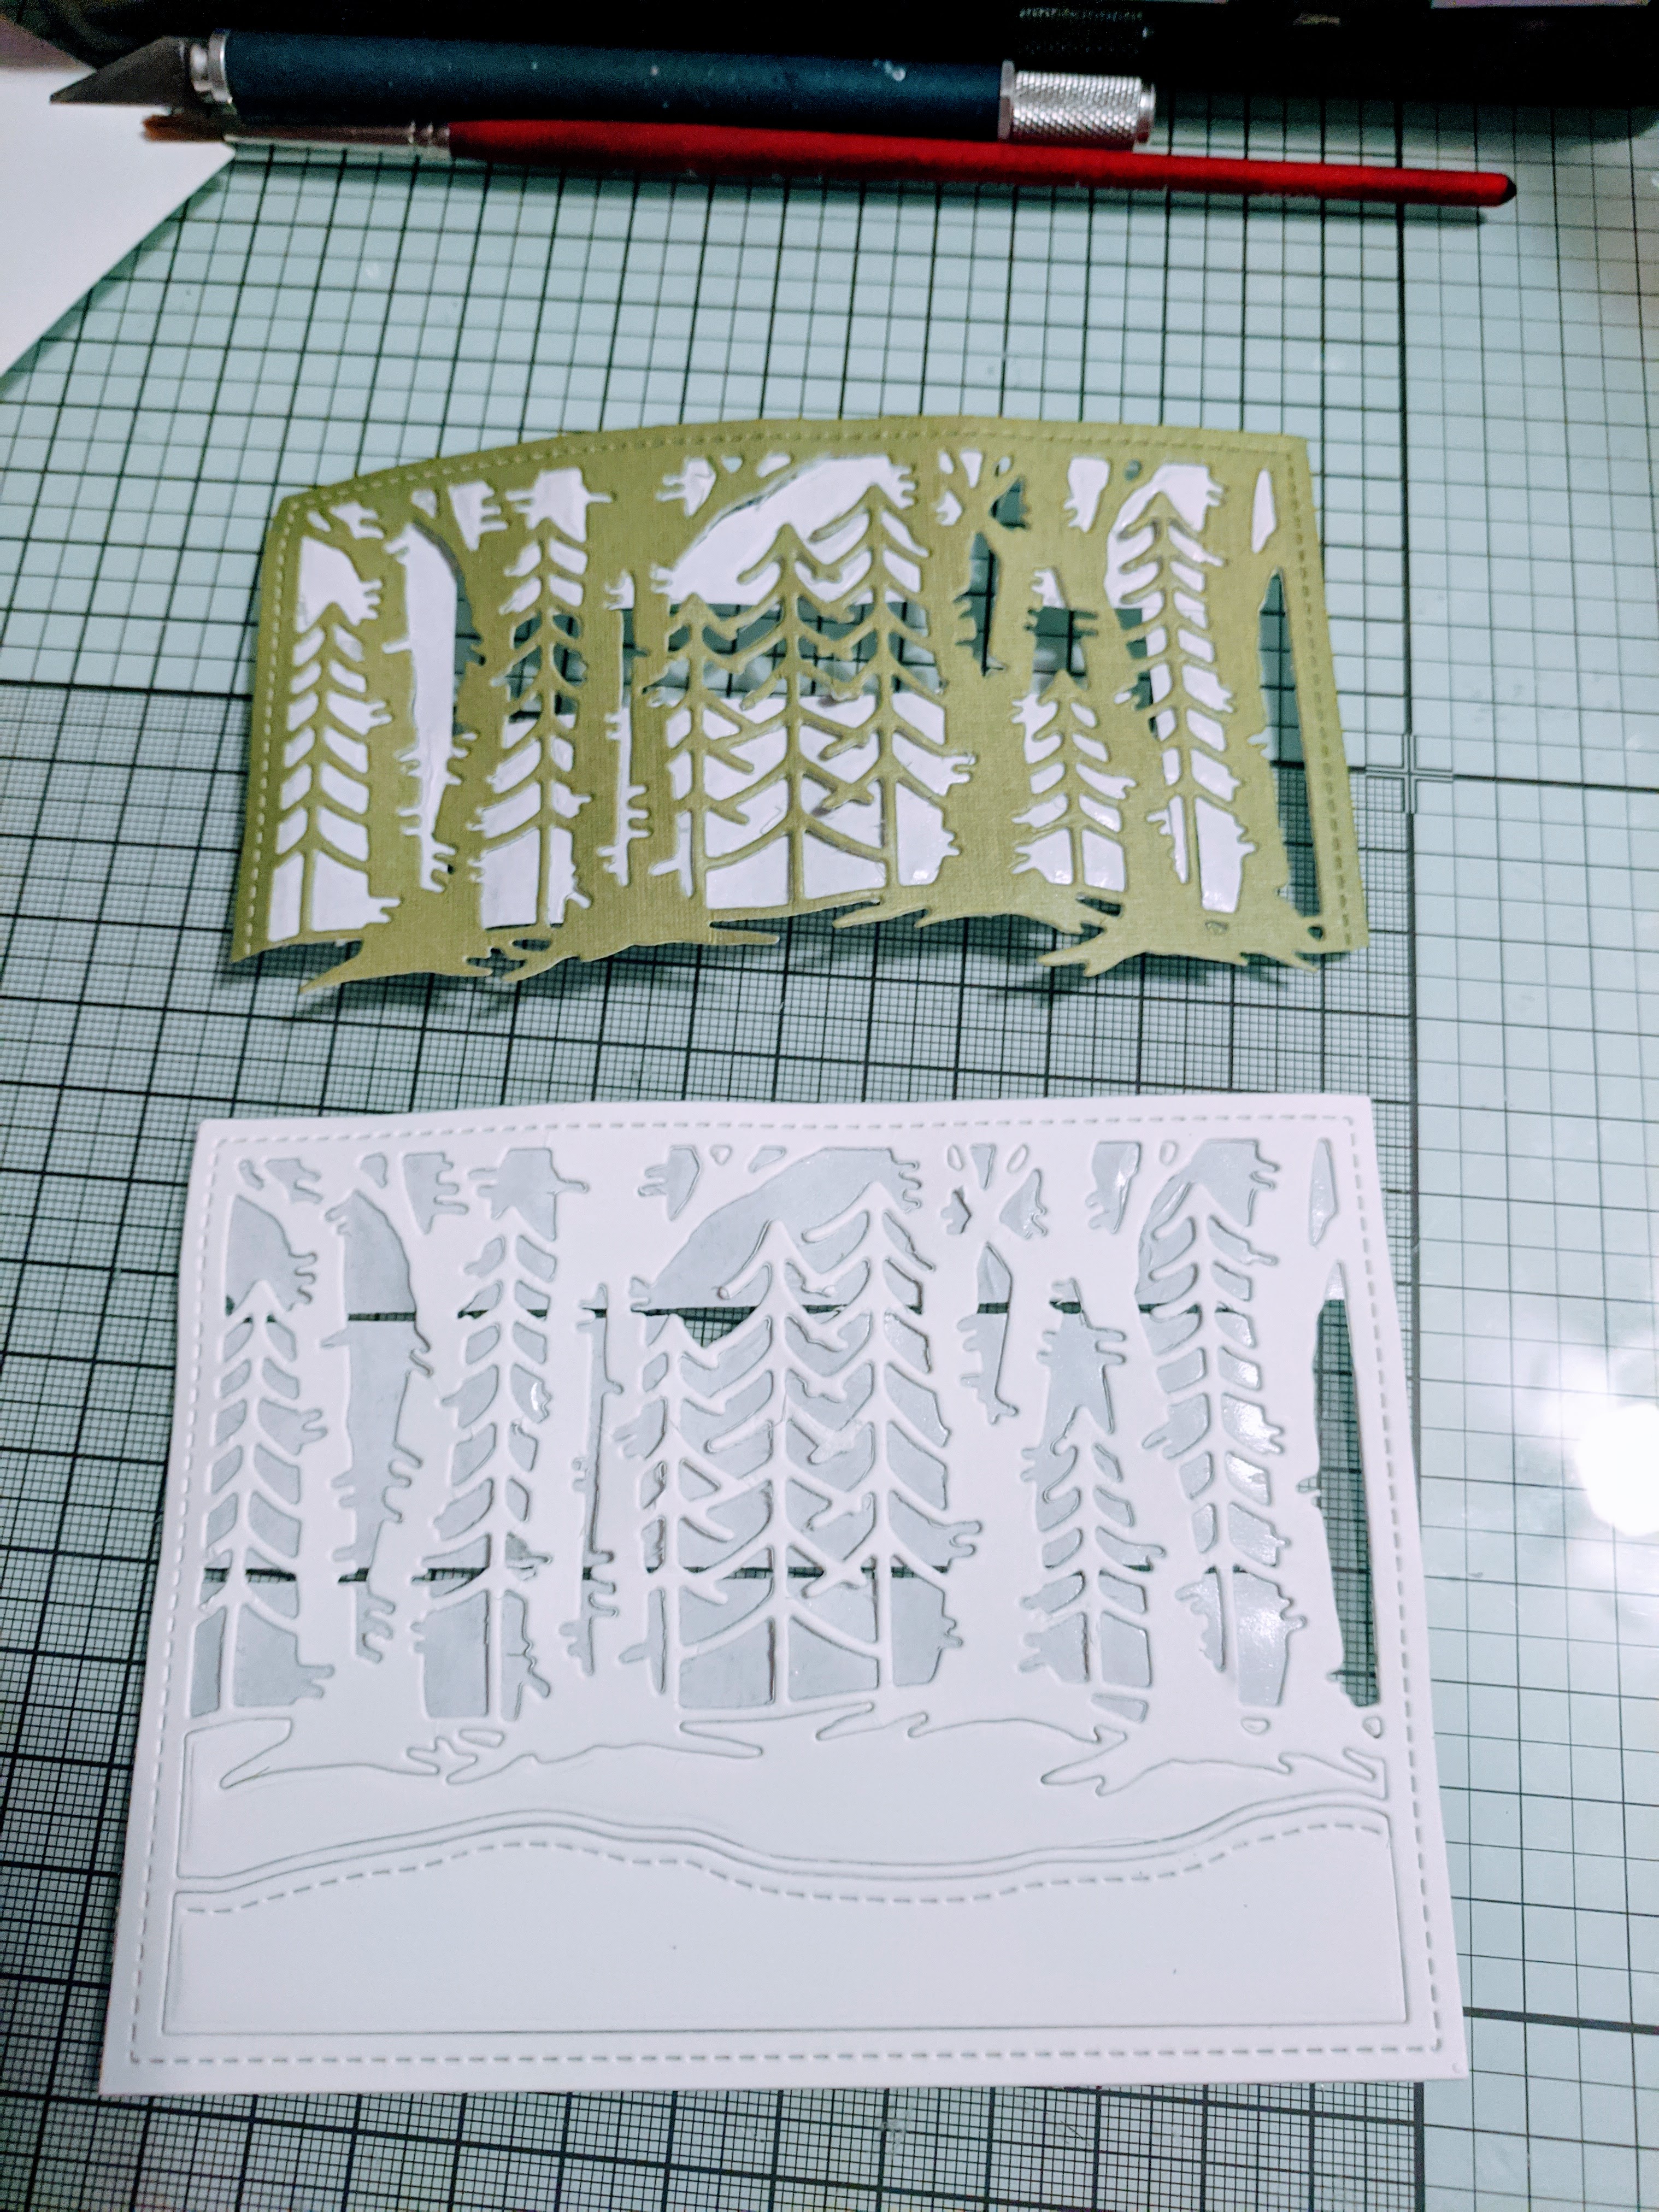
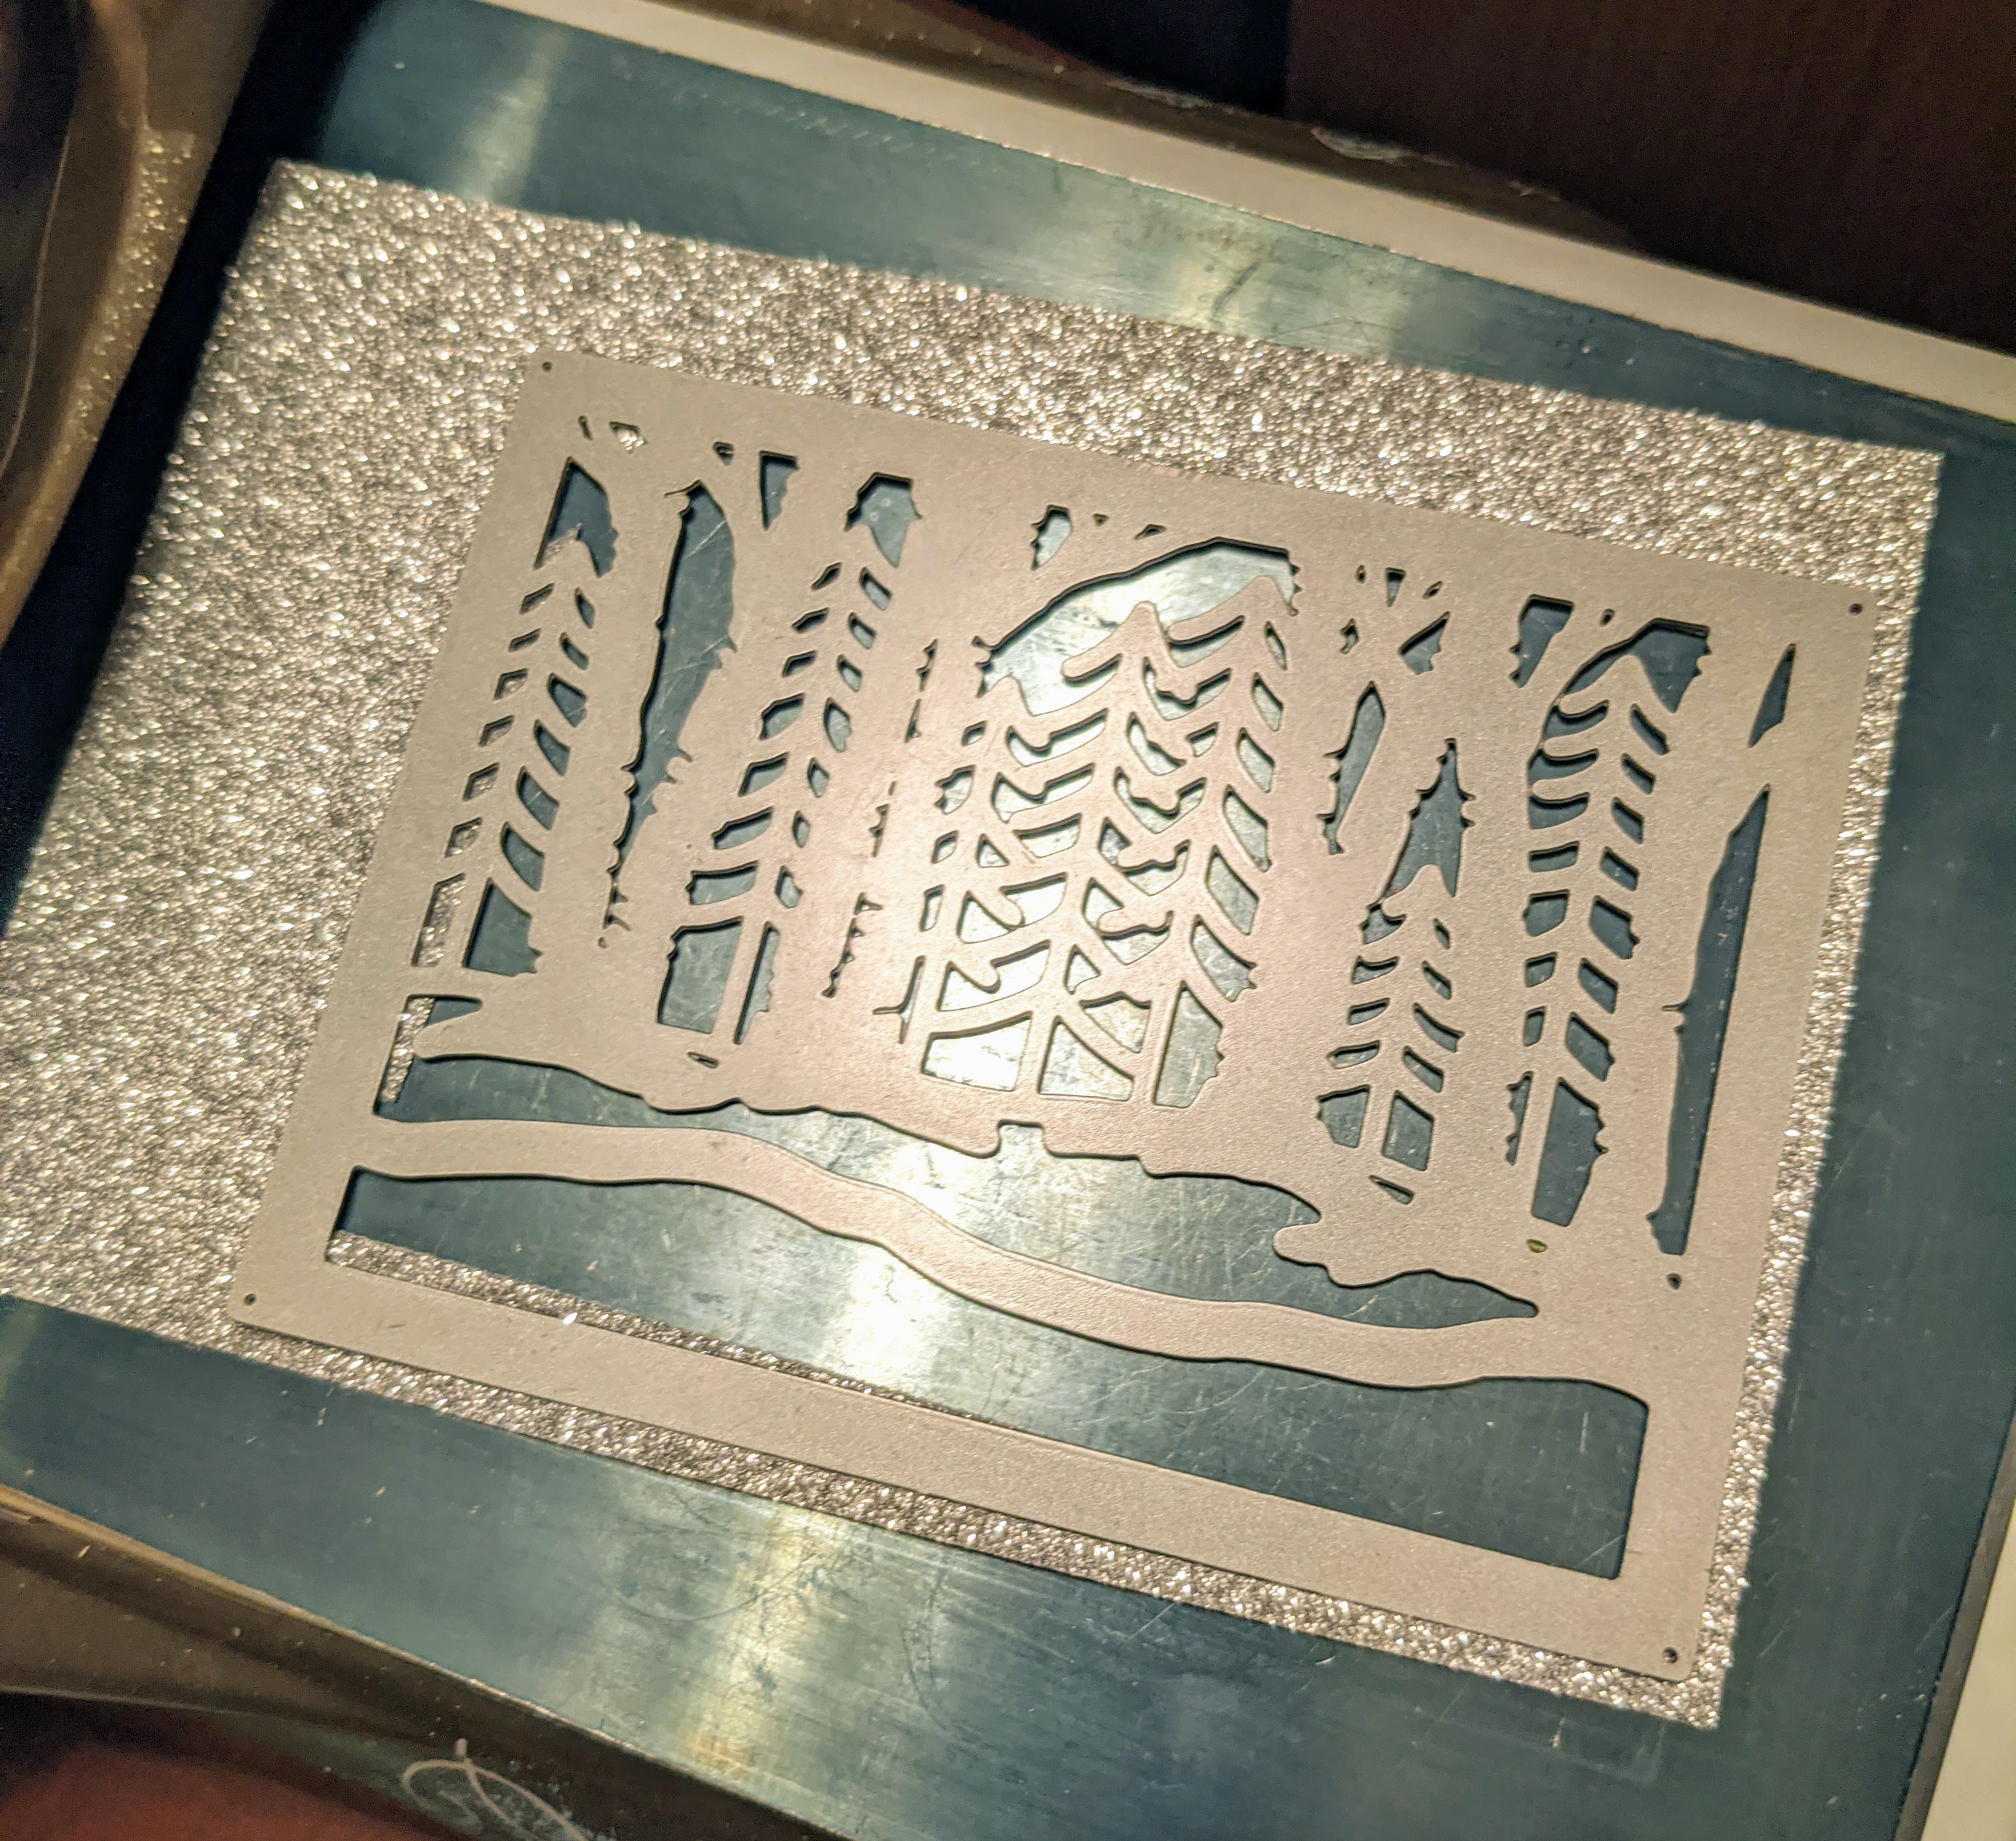
I die cut the panel from 110lb white card stock which I covered with score tape first, so that I would be able to attached it to it blue background pattern paper easily, which I did.  I also die cut the top part of the panel (trees) from green card stock and trimmed away the non birch trees.  This die cut also was backed with score tape, so it was super easy to cover the white birch trees w/the greens ones adding interest to my background. Next I added two layers of foam tape around the frame of the die


I added my "snow" mixture and die cut the "frame" to top my shaker from silver glitter paper... tip:  to save glitter paper I fuzzy cut the center of the glitter paper since I didn't need it when die cutting the die this time.  I only needed the border/frame.  I fuzzy cut anything that wasn't the frame. 

.


On card 2 I used the same technic trees, only this time I left the birch trees white and covered the "pine" trees with a second layer of green card stock.  I backed the Cute Rudolph by Frantic Stamper with white card stock. 


For card 3, I wanted to see if I could make the Aspen & Pine Forest die work on a slim card. 


I started by die cutting the panel twice from green card stock.  Using my card panel for size reference I looked for a place I could join the two die cuts without it looking weird and trimmed the excess off.  I ended up getting rid of the bottom parts of the die realizing I should have used white card stock (snow).

I backed the die cuts with blue pattern paper and using a white gel pen painted some of the trees white.  I inked the bottom of the "ground" with white distress ink.  The "Winter Cheer" is from a Penny Black die set that unfortunately is not currently available, but the Joyful Winter set is.  The cute house and sleigh is an unmounted stamp from Purple Onion Designs by Stacey Yacula.  


Don't forget to come join in the fun at the  Dies R Us Challenge Blog.  There's a new challenge theme offered on the 1st and 15th of each month and one lucky randomly drawn winner will receive a gift voucher prize to the Dies R Us Store.  For your convenience, all the important Dies R Us links are provided below.


click below for:

                                                            Thanks for stopping by! 


Friday, November 13, 2020

DRU - Candy Canes

 Hello crafty friends,

It's my turn at bat today, actually you don't want me batting, I'm terrible at sports, but I'm good at card making, so that's what I do and that's what I have for you today... a Christmas card featuring this fun Candy Canes die from Tutti. 


The die measures 2.85" x 4", so it makes a great focal point on a card.  I die cut it twice from red glitter card stock for my slim card. 


I used Distress Oxide Ink and a Christmas background stamp to create a background for my Candy Canes dies using two free handed cut circle post-it note masks to keep to areas white, so that the bows of the die cuts would differ a little.  Until next time... Take care. 


Don't forget to come join in the fun at the Dies R Us Challenge Blog.  There's a new challenge theme offered on the 1st and 15th of each month and one lucky randomly drawn winner will receive a gift voucher prize to the Dies R Us Store.  For your convenience, all the important Dies R Us links are provided below.


click below for:

Thanks for stopping by! 

Monday, November 2, 2020

TOB - Boo Kitty

Hello crafty friends,


Welcome to the official start of the Two Old Bats Halloween Challenge, where the theme is always anything Halloween related.  The current Challenge runs from the 2nd to the 28th of the month. 

I gathered up some new and some old stamps to make my inspiration card for this challenge.  First, let me show you the card and them I'll tell you how it all came together.  I went for a scary night time bike ride feel.


The finished card measures 5x7 inches.  Initially, I was going to attached my stamped and colored panel directly onto my white card base, but ended trimming it a bit and matting it onto orange cardstock for a pop of color.  

I stamped the Vintage Bicycle Basket (IO - J20006) first, stamped it a second time onto a posted note focusing on the basket mostly... fussy cut the posted note stamped image and placed it over the stamped image on my card panel creating a mask.  Next I lined up and stamped the Boo Kitty (The Rabbit Hole Designs) so that he (or she) was sitting in the basket.  In all honesty, my masking was a little off, because I didn't plan for the back sides of the basket handles, which should be behind the kitty, but by masking them along with the whole basket they stamped in front of the kitty.  What I should have done is not inked that part of the stamp, either by putting a small piece of tape in the area that falls behind the kitty that therefore not be seen or clean the ink off the area before stamping.  In this case my mistake wasn't a big one, because I was going to color my kitty black and it would cover the stamped handles. 

To fill in the card, I stamp the Branch (IO - L20755) several times and stamped several bats and even a few spiders from the Tiny Halloween (Lawn Fawn) stamp set.  


As for the "MEOW-OWEEN" I have no idea what stamp set it belongs with/in.  I used it so much last year that I forgot to put it away.  If you recognize it, please let me know.   For additional inspiration here's November's mood board: 


 Challenge ends on the 28th, winner will be announced on the 1st on the month before the start on the new challenge.  For a full list of all the rules please visit Two Old Bats Halloween Challenge home page.  unit next time... take care.