Friday, November 20, 2020

DRU - Pine Forest

  Hello crafty friends,  

Mary back with three cards showcasing the Aspen & Pine Forest die by Impression Obsession and a couple of other dies.   

Starting with this first card, on which I used the die to create a shaker element.  


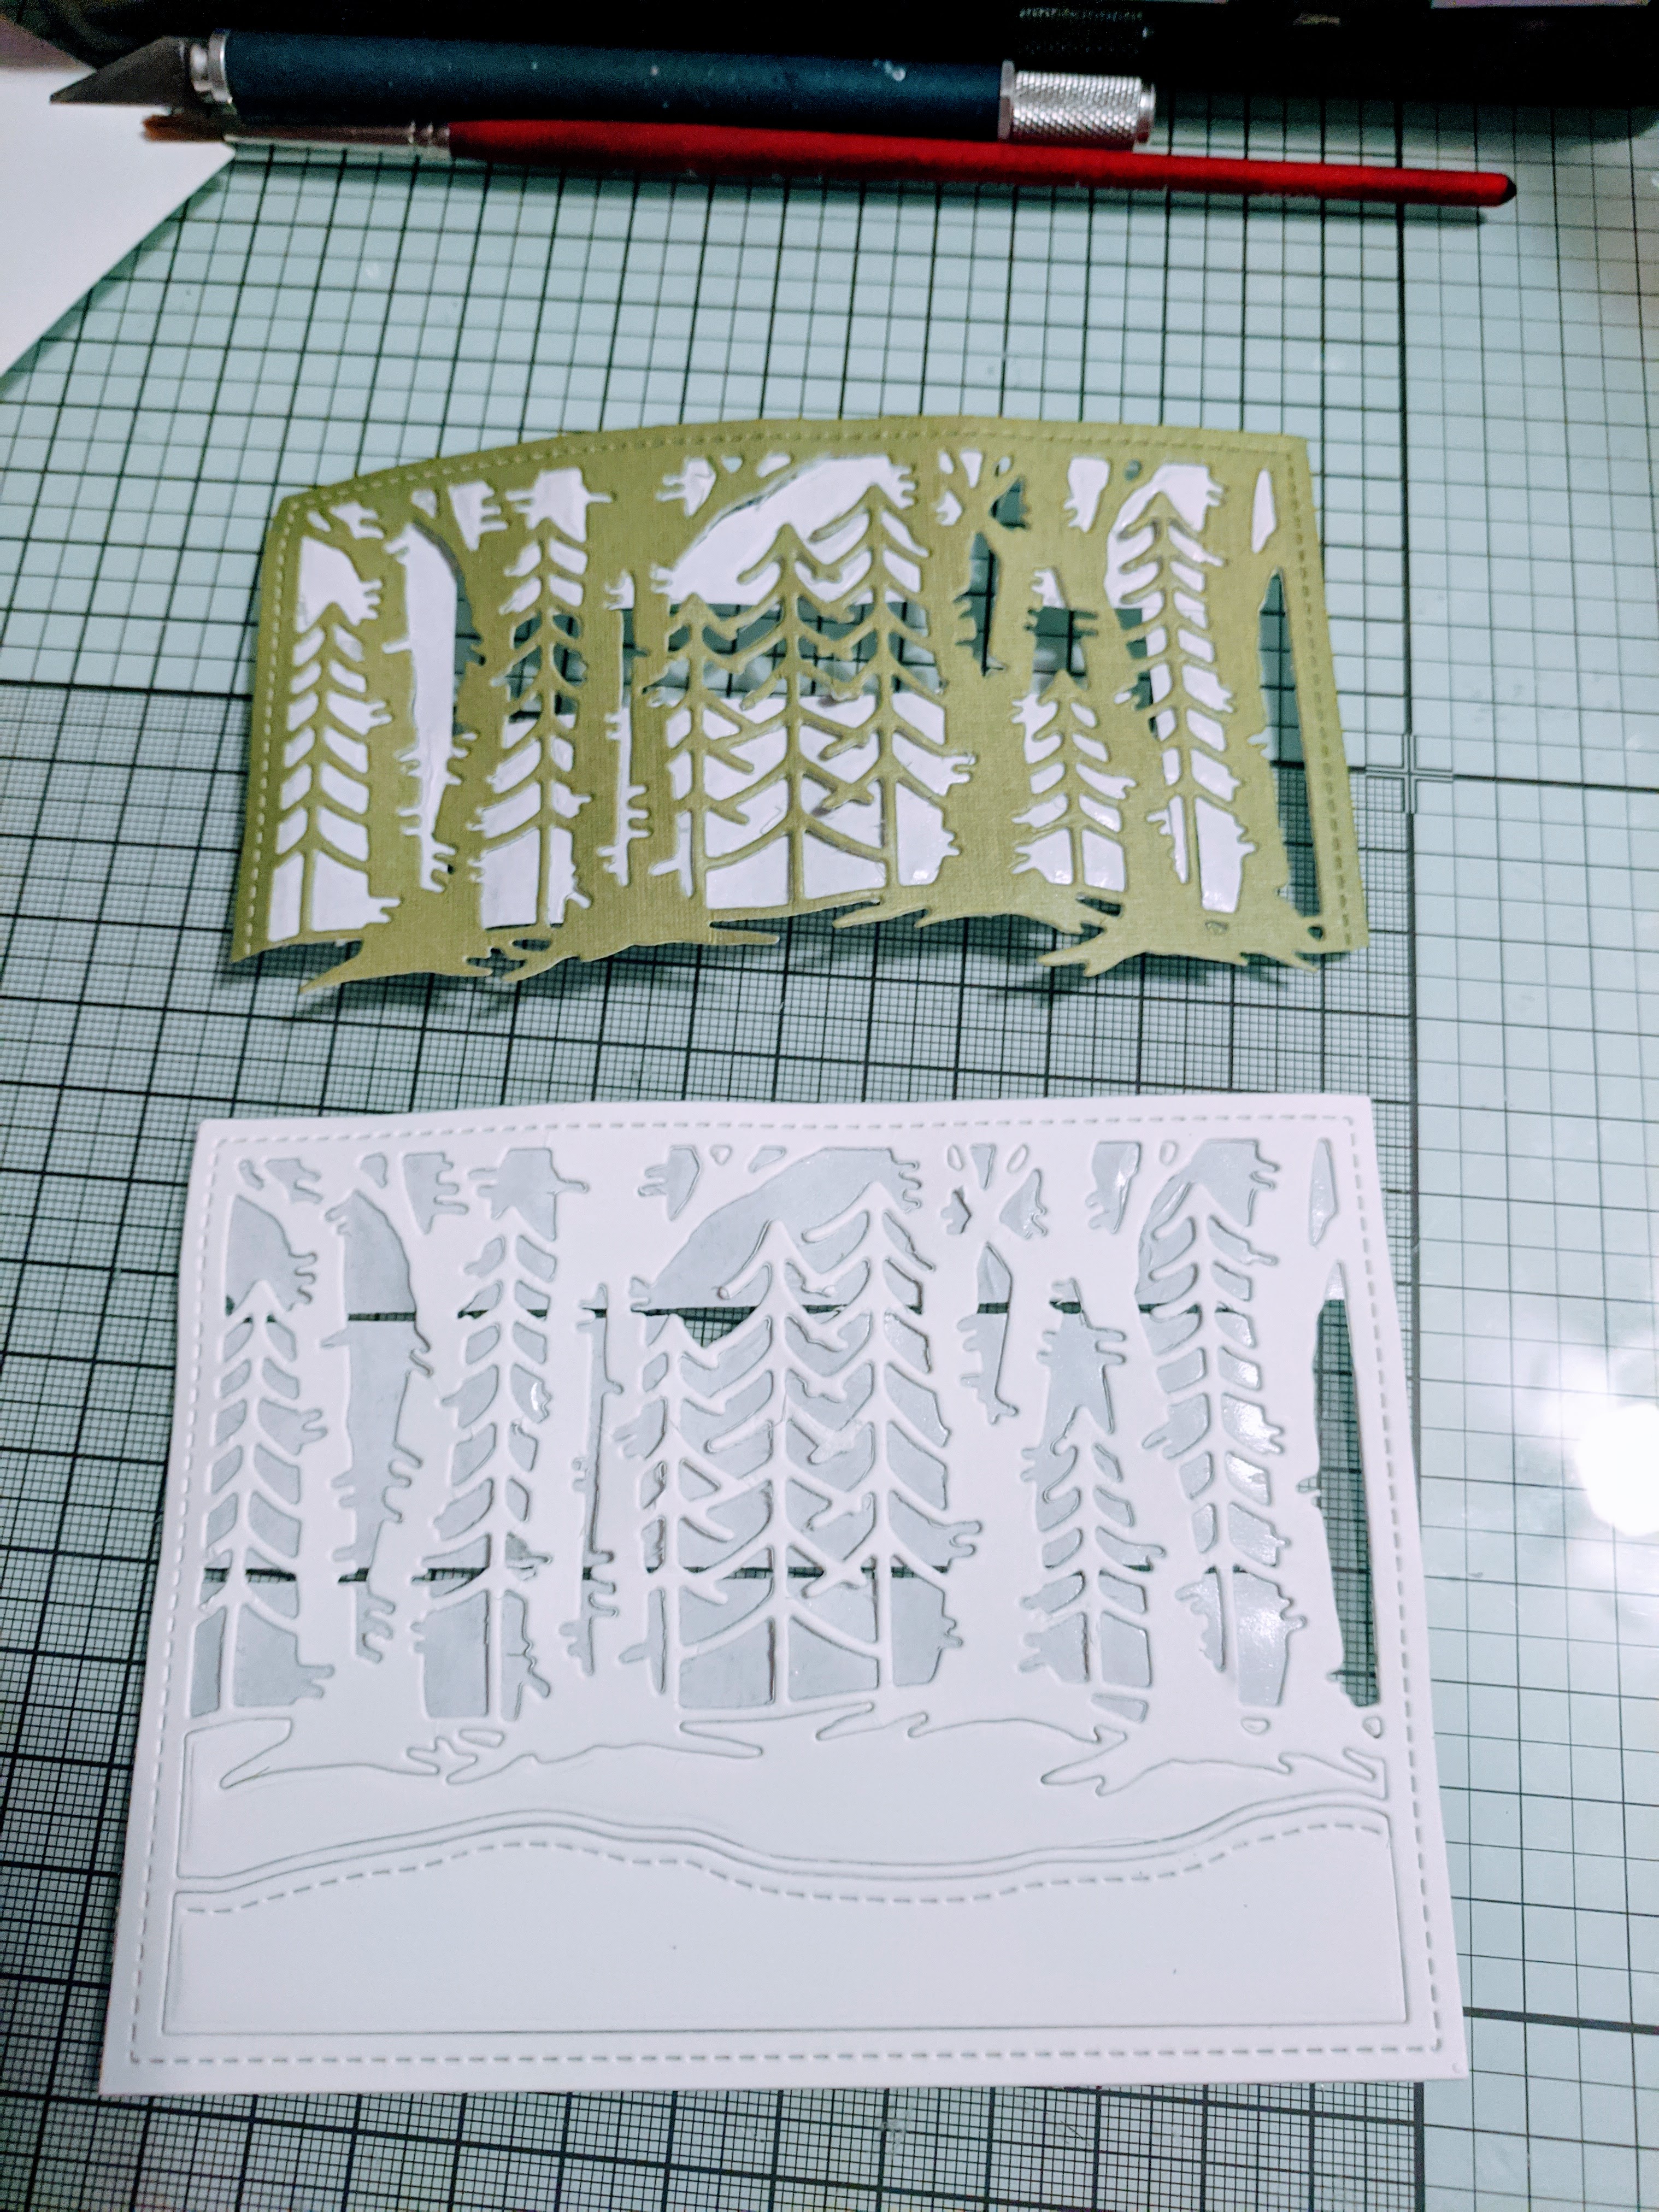
I die cut the panel from 110lb white card stock which I covered with score tape first, so that I would be able to attached it to it blue background pattern paper easily, which I did.  I also die cut the top part of the panel (trees) from green card stock and trimmed away the non birch trees.  This die cut also was backed with score tape, so it was super easy to cover the white birch trees w/the greens ones adding interest to my background. Next I added two layers of foam tape around the frame of the die


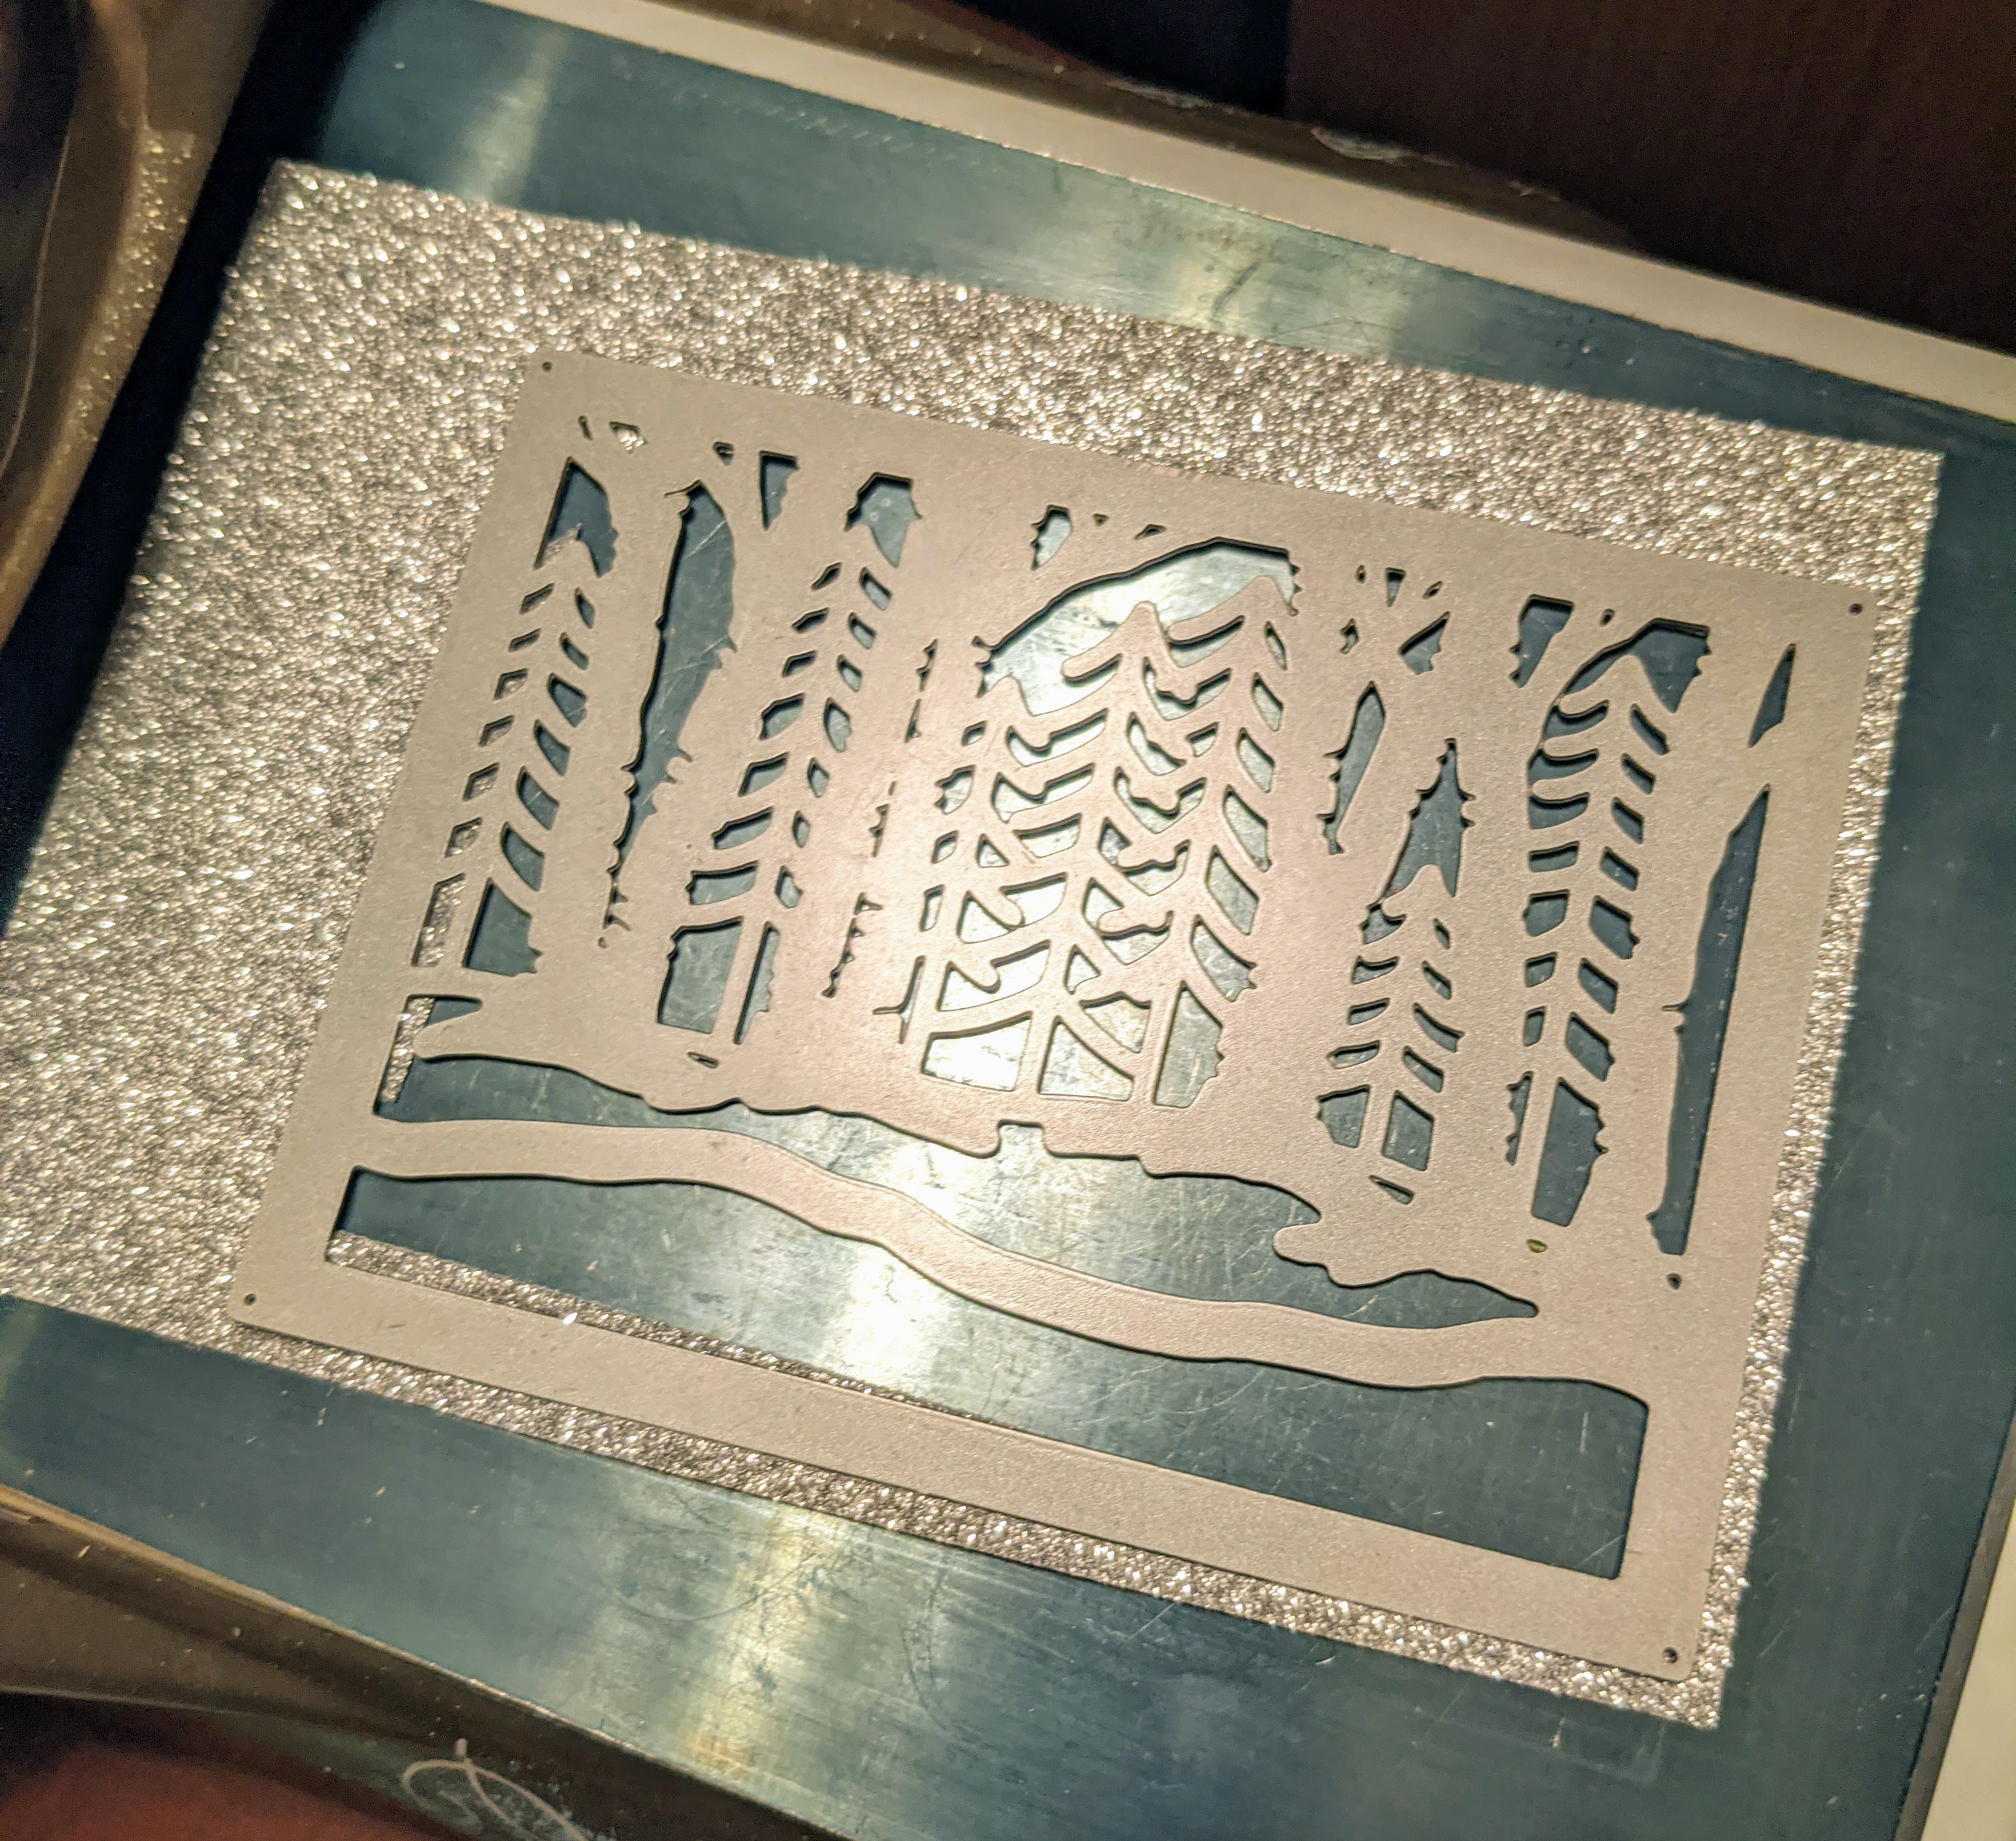
I added my "snow" mixture and die cut the "frame" to top my shaker from silver glitter paper... tip:  to save glitter paper I fuzzy cut the center of the glitter paper since I didn't need it when die cutting the die this time.  I only needed the border/frame.  I fuzzy cut anything that wasn't the frame. 
.


On card 2 I used the same technic trees, only this time I left the birch trees white and covered the "pine" trees with a second layer of green card stock.  I backed the Cute Rudolph by Frantic Stamper with white card stock. 


For card 3, I wanted to see if I could make the Aspen & Pine Forest die work on a slim card. 


I started by die cutting the panel twice from green card stock.  Using my card panel for size reference I looked for a place I could join the two die cuts without it looking weird and trimmed the excess off.  I ended up getting rid of the bottom parts of the die realizing I should have used white card stock (snow).

I backed the die cuts with blue pattern paper and using a white gel pen painted some of the trees white.  I inked the bottom of the "ground" with white distress ink.  The "Winter Cheer" is from a Penny Black die set that unfortunately is not currently available, but the Joyful Winter set is.  The cute house and sleigh is an unmounted stamp from Purple Onion Designs by Stacey Yacula.  


Don't forget to come join in the fun at the  Dies R Us Challenge Blog.  There's a new challenge theme offered on the 1st and 15th of each month and one lucky randomly drawn winner will receive a gift voucher prize to the Dies R Us Store.  For your convenience, all the important Dies R Us links are provided below.


click below for:

                                                            Thanks for stopping by! 


Friday, November 13, 2020

DRU - Candy Canes

 Hello crafty friends,

It's my turn at bat today, actually you don't want me batting, I'm terrible at sports, but I'm good at card making, so that's what I do and that's what I have for you today... a Christmas card featuring this fun Candy Canes die from Tutti. 


The die measures 2.85" x 4", so it makes a great focal point on a card.  I die cut it twice from red glitter card stock for my slim card. 


I used Distress Oxide Ink and a Christmas background stamp to create a background for my Candy Canes dies using two free handed cut circle post-it note masks to keep to areas white, so that the bows of the die cuts would differ a little.  Until next time... Take care. 


Don't forget to come join in the fun at the Dies R Us Challenge Blog.  There's a new challenge theme offered on the 1st and 15th of each month and one lucky randomly drawn winner will receive a gift voucher prize to the Dies R Us Store.  For your convenience, all the important Dies R Us links are provided below.


click below for:

Thanks for stopping by! 

Monday, November 2, 2020

TOB - Boo Kitty

Hello crafty friends,


Welcome to the official start of the Two Old Bats Halloween Challenge, where the theme is always anything Halloween related.  The current Challenge runs from the 2nd to the 28th of the month. 

I gathered up some new and some old stamps to make my inspiration card for this challenge.  First, let me show you the card and them I'll tell you how it all came together.  I went for a scary night time bike ride feel.


The finished card measures 5x7 inches.  Initially, I was going to attached my stamped and colored panel directly onto my white card base, but ended trimming it a bit and matting it onto orange cardstock for a pop of color.  

I stamped the Vintage Bicycle Basket (IO - J20006) first, stamped it a second time onto a posted note focusing on the basket mostly... fussy cut the posted note stamped image and placed it over the stamped image on my card panel creating a mask.  Next I lined up and stamped the Boo Kitty (The Rabbit Hole Designs) so that he (or she) was sitting in the basket.  In all honesty, my masking was a little off, because I didn't plan for the back sides of the basket handles, which should be behind the kitty, but by masking them along with the whole basket they stamped in front of the kitty.  What I should have done is not inked that part of the stamp, either by putting a small piece of tape in the area that falls behind the kitty that therefore not be seen or clean the ink off the area before stamping.  In this case my mistake wasn't a big one, because I was going to color my kitty black and it would cover the stamped handles. 

To fill in the card, I stamp the Branch (IO - L20755) several times and stamped several bats and even a few spiders from the Tiny Halloween (Lawn Fawn) stamp set.  


As for the "MEOW-OWEEN" I have no idea what stamp set it belongs with/in.  I used it so much last year that I forgot to put it away.  If you recognize it, please let me know.   For additional inspiration here's November's mood board: 


 Challenge ends on the 28th, winner will be announced on the 1st on the month before the start on the new challenge.  For a full list of all the rules please visit Two Old Bats Halloween Challenge home page.  unit next time... take care.

Friday, October 23, 2020

DRU - Spooky Banner

 Hello crafty friends,

Mary back today with my last Halloween card of the season for this blog.


I started my card by die cutting a square window in the middle, so that the inside stamped pattern (IO Cover-a-Card Gradation CC015) could be seen.  I used the Die-Versions Stitched Squares, but would have preferred to used the Lawn Fawn Outside In Stitched Squares, because the stitched lines are left on both the negative and positive pieces.  

Next I inked the around the sides of my card front with distress ink. While the ink dried, I die cut the Spooky Banner die by Tutti Designs from black glitter cardstock and glue it to the card.  A sentiment from the Tiny Halloween stamp set by Lawn Fawn and some sequin finished the card.


Hope you enjoy the last few days of the Fall/Halloween season... Until next time... Take care. 


Don't forget to come join in the fun at the Dies R Us Challenge Blog.  There's a new challenge theme offered on the 1st and 15th of each month and one lucky randomly drawn winner will receive a gift voucher prize to the Dies R Us Store.  For your convenience, all the important Dies R Us links are provided below.


click below for:

Friday, October 16, 2020

DRU - Jack-O-Lantern Faces

 Hello craft friends,

Mary back on the blog today with two more Halloween cards featuring the Jack-O-Lantern Faces die set from Frantic Stamper.  I love this set of scary faces... they are the perfect size for grouping onto a card front.  I used them on two slim cards.


On this first card, I die cut the Jack-O-Lantern Faces into the black card front and used distressed oxide inks to "light" them up underneath. I carried the ink colors a crossed the card base, so that a little bit of it would show once the black card front was glue down.  This was a quick card, the most time consuming part of making it was the ink blending.  

I'm submitting this card to Simon Says: Spooky Challenge, wish me luck!


On this second card, I die cut the Jack-O-Lantern Faces into orange glitter card stock die cut circles (Stitched Circle Stackables) and glue them onto my card making for another quick an easy card.


                    Hope your having a fun Fall/Halloween season... Until next time... Take care. 


Don't forget to come join in the fun at the Dies R Us Challenge Blog.  There's a new challenge theme offered on the 1st and 15th of each month and one lucky randomly drawn winner will receive a gift voucher prize to the Dies R Us Store.  For your convenience, all the important Dies R Us links are provided below.


click below for:

Tuesday, October 13, 2020

New Challenge Blog for YOU - New DT for ME - FUN for ALL!

Hello craft friends,

Everyone who knows me, knows that I love cats, penguins, owls and all things Halloween... order of preference can chance depending on mood and/or on how many hairballs I've had to clean up, but I digress (as I'm known to do).   Halloween, is my favorite time of year and if I could stop the calendar from moving it would be during October, do that I could celebrate Halloween all year long.  

A new challenge blog by Two Old Bats just brought me closer to my dream!  YES!  The new Two Old Bats Challenge is ALL about Halloween ALL the time!  And I'm beyond excited to announce that I'm on their Design Team!  


For my first DT project, I created a 5x5 inch mandala card using Jack-O-Lantern (Lil Inker Designs) and Ghost (IO) dies.  I used a ruler to find the center of the square and drew lines to help me align the the smaller die Jack-O-Lanterns towards the center on the card front panel.  I used two for the wider die Jack-O-Lanterns for my second layer.  I used the positive die cuts of the ghost instead of the negative.  I really like the idea, but I'm not happy with the finished card.  The mandala is not centered.  Will have to try this one again to see if I can make it better.    

Other products used... I used 110lb black card stock from Michaels, Spiced Marmalade and Evergreen Bough Distress Oxide under the die cut Jack-O-Lantern faces. 


Here's how things will work... we'll post an inspiration/mood board each month... something to give you a bit of inspiration.  Use or don't, we're good either way, because this is an ANYTHING GOES HALLOWEEN CHALLENGE!

Here is the first FUN board:


We are calling this challenge a JUMP START challenge and it will run for 2 weeks, ending on the 28th.  For a full list of all the rules please visit Two Old Bats Challenge.

Friday, October 9, 2020

Creeping By To Say Hi

Hello crafty friends,

Halloween is my favorite Holiday, so when I found out Two Old Bats Halloween Challenge was having a DT call, I was excited to make and submit a card for consideration.    

Halloween has two sides (cute and scary) and I love them both.  This card below is more cute then scary, but it has scary spiders on it... and I don't like spiders or bugs of any kind, but orange glittery paper die cut spiders aren't really that scary, except for that one w/the raised eyebrows.  

The finished card measures 7.75x4 inches.  Design note...  I ended up die cutting one of the webs on the wrong side leaving the die cut with scor tape adhesive on what I intended to be the top. Not wanting to "waste" the die cut, I realized this was a happy accident, because gave me the idea to make each web a little different, just by rotating it or flipping it.  


I used the following products:

The Spider Web die from Frantic Stamper.
The Whimsical Spider die set from Cherry Lynn.
The a sentiment from the retired MFT Spooky Sentiment Stamp set.
110lb white and black card stock.

Thanks for stopping bye.  Until next time, take care :)